Building an AWS Trading System - Registration & Environment Setup (Part 2) (Python Tutorial)
Title image created with Cacoo.com
This post is part of a series of tutorials with the subject of building a scalable algorithmic trading system on the Amazon Web Services (AWS) cloud platform. Bear with me, as I’m learning AWS myself.
The advantage of using AWS is that it offers dozens of powerful, integrated software services that can be used to build a scalable, high-performance, low-cost production trading system.
In this post we are going to go through the steps for the AWS account- and Cloud 9 environment setup for Python. AWS functionality is complex and can be intimidating but don’t worry, we will use simple options and take it step by step.
This story is solely for general information purposes, and should not be relied upon for trading recommendations or financial advice. Source code and information is provided for educational purposes only, and should not be relied upon to make an investment decision. Please review my full cautionary guidance before continuing.
Previous AWS Series Posts
Trade Ideas provides AI stock suggestions, AI alerts, scanning, automated trading, real-time stock market data, charting, educational resources, and more. Get a 15% discount with promo code ‘BOTRADING15’.
AWS Account Registration
Let’s go ahead and register for an AWS account.
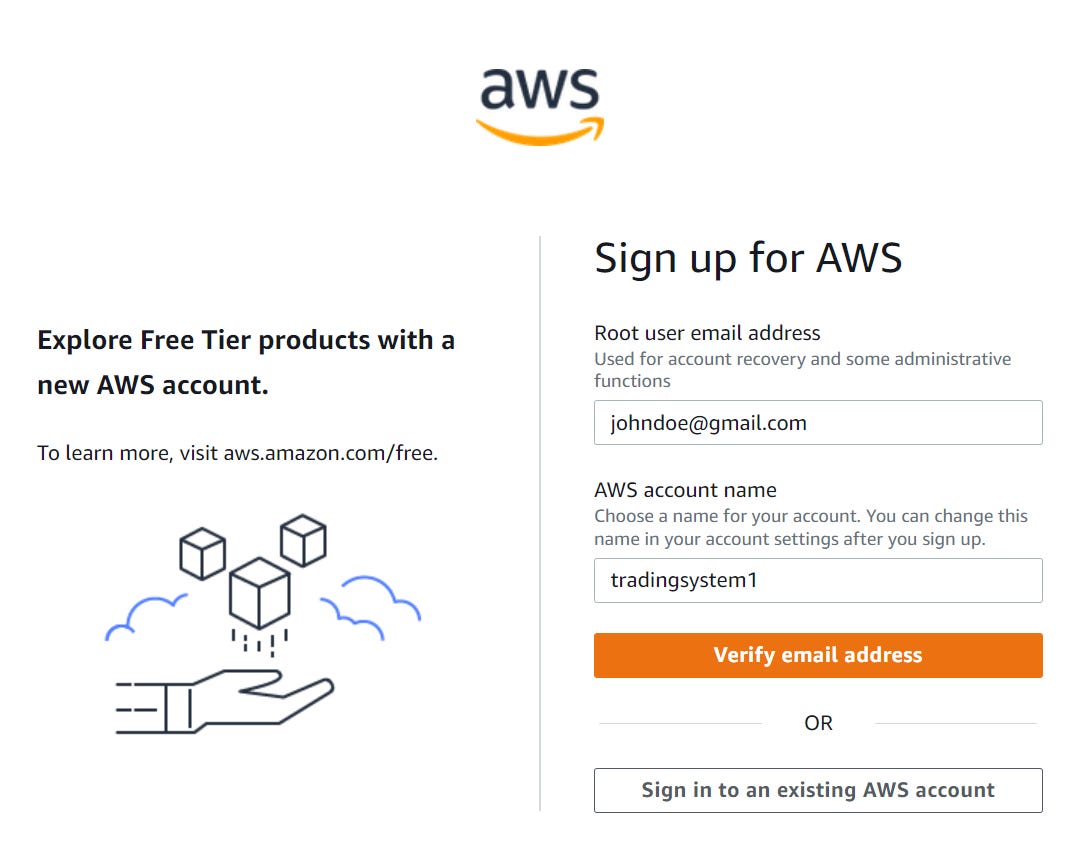
Go to https://aws.amazon.com/ and click on ‘Create an AWS Account’.
On the next page you will need to enter your email address and provide a name for the system. Next, you will have to go through the email address verification process.
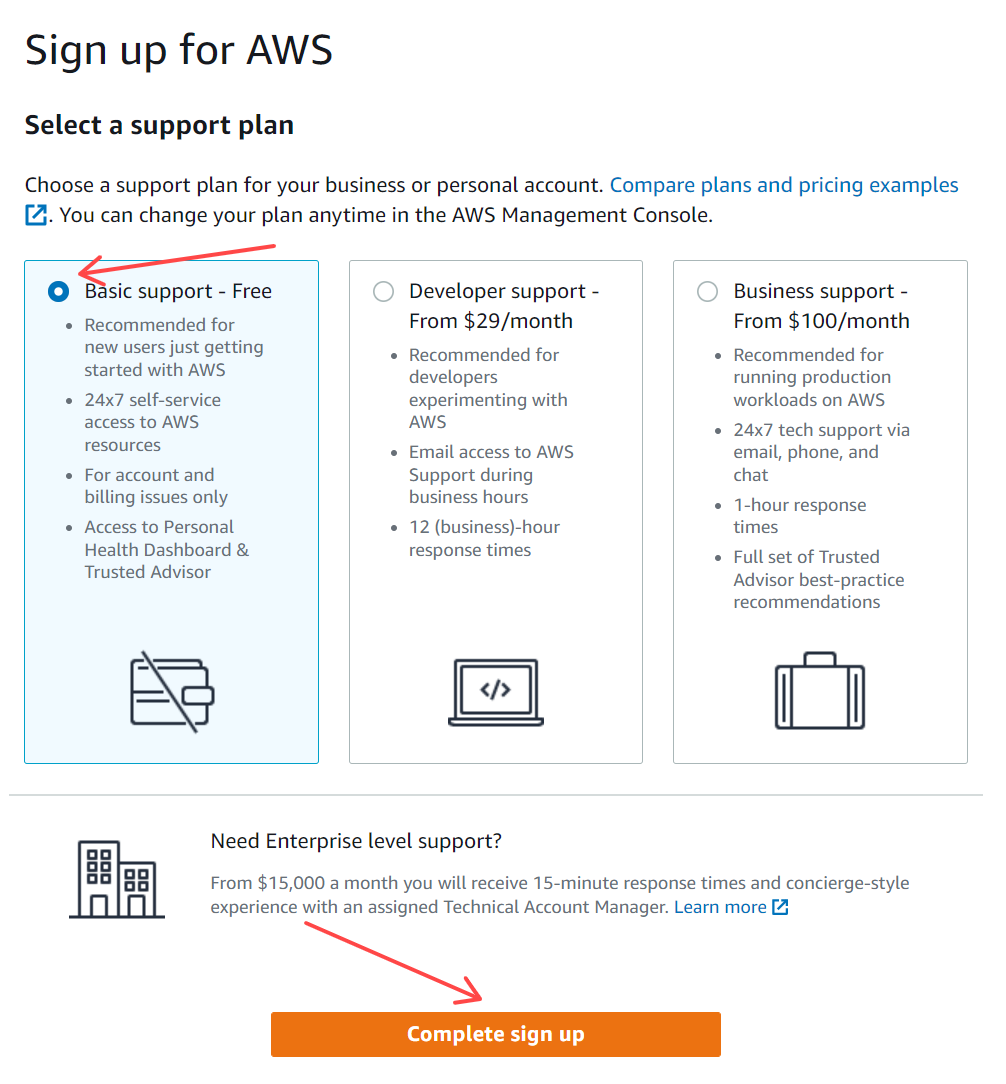
Next, you can select a support plan. You can start with the AWS Basic support plan which is free. Just be aware that you may get charged for some cloud computing resources as you start using them. Select the support plan and then press the ‘Complete sign up’ button.


